 There’s something about a big red apple. Apple pie, apple picking, apple bobbing -apples are strongly associated with fall, so why not use them in your fall decor, too. It can’t all be pumpkins and orange leaves. Katrina from our design team made this simple and cute red apple pillow. We have the free template available with the printable project sheet.
All seams are 1/4”. Read through all instructions before beginning.
Supply List:
- 1/2 yard white fabric
- 1/8 yard teal fabric
- 1/2 yard red fabric
- Scrap of green fabric, about 2” x 3”
- Scrap of brown fabric for stem, about 1” x 2”
- 1/4 yard Heat’nBond
- 14” pillow form
Cutting Directions:
- From the white fabric, cut four strips 1½” x WOF. (WOF=Width of Fabric) Sub-cut two strips in half. From the remaining strips, sub-cut into eight 8½” pieces. Cut one 8½” square.
- From the teal fabric, cut two strips 1½” x WOF. From one strip, sub-cut into four 8½” pieces. Sub-cut the other strip in half.
- From the red fabric, cut a rectangle 15” x 19”. Sub-cut this to create two pieces 15” x 9½”. Cut a 7’ square. Using the apple template, trace the apple onto the Heat’nBond. Following the manufacturer’s directions, fuse the apple onto the back of the red fabric. Cut out.
- Using the leaf template, trace the leaf onto the Heat’nBond. Following the manufacturer’s directions, fuse the leaf onto the back of the green fabric. Cut out.
- Fuse a piece of Heat’nBond slightly smaller than the brown scrap onto the back of the brown fabric. From this, cut a rectangle about ½” x 2”.
Sewing Directions:
- Place the apple onto the white square, slightly below center. Slip the brown stem under the center of the apple top and adjust the pieces so they are pleasing to your eye. Add the leaf. Following manufacturer’s directions, fuse the pieces in place. If using a “lite” fusible, zig-zag or satin stitch around the edges. Set aside.
- Sew one white half WOF strip to a teal half WOF strip. Sew the other white half WOF strips to the other side of the teal strip. Press to the center. Cut into 1½” wide pieces.
- Sew a one half WOF teal strip to a white half WOF strip and sew the remaining teal strip to the other side of the white strip. Press to the outside. Cut into 1½” wide pieces.
- Sew a white/teal/white strip set to a teal/white/teal strip set. Sew another white/teal/white set to create a checkerboard. Square up. Repeat to create 3 more checkerboards.
- With long sides together, sew a white 8½” strip to a teal 8½” strip. Sew another white 8½” strip to the other long side of the teal strip. Press to the teal. Repeat 3 more times to create a total of 4 strip sets.
- Sew a strip set created in step 5 to the outsides of the apple square. Press out.
- Sew a checkerboard piece to each end of the remaining two strip sets created in step 5.
- Sew a checkerboard strip set to the top and bottom of the apple square. Press.
- Place the pillow top right side up. With right sides together, place the red rectangles on top of the pillow front, matching edges and overlapping the hemmed sides to create your envelope pillow back. Pin and sew. Turn right sides out, pushing the corners out. Insert the pillow form.
Save and Share
MAKE-N-TAKES ARE BACK
2-4PM Every Saturday
Saturdays from 2-4PM Craft Warehouse hosts a special, in-store Make-N-Take event at ALL locations. Come Check it out!
View Events by Location
Meridian, ID | Beaverton, OR | Gresham, OR | Salem, OR | Hazel Dell, WA | Kennewick, WA | Vancouver, WA
Upcoming Events

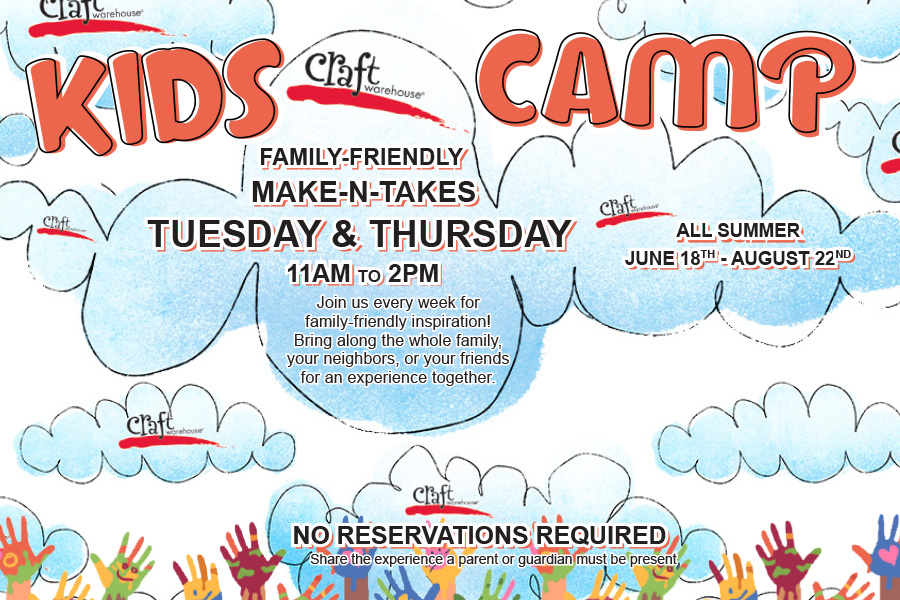
June 18 - August 22
Get ready for a summer of creativity and fun at Craft Warehouse! Our Summer Kids Camp is back by popular demand and better than ever, running from June 18th to August 22nd. Join us every Tuesday and Thursday from 11am to 2pm for family-friendly, famous [...]
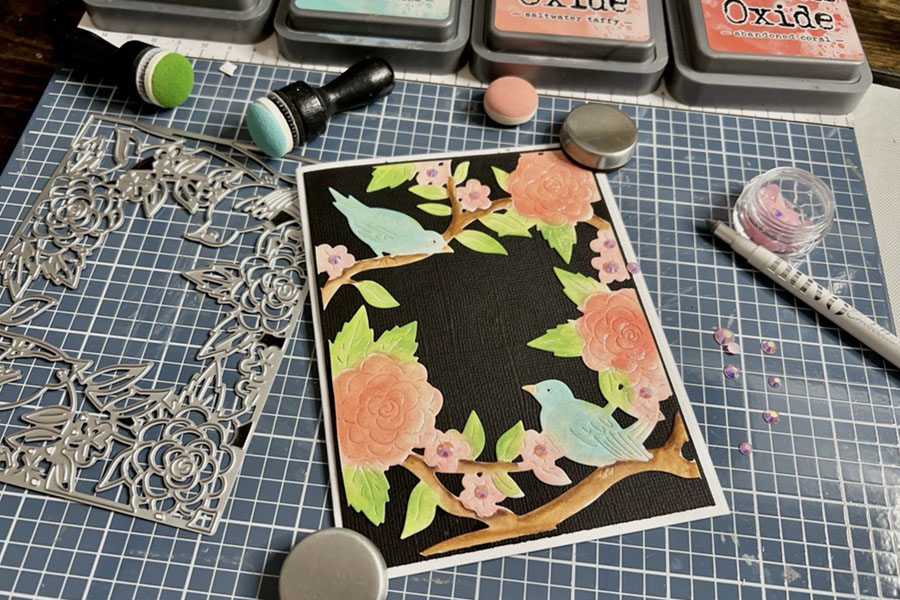
June 29 @ 2:00 pm - 4:00 pm
Join us at all store locations! Immerse yourself in card making techniques! We invite you to create your version of this pretty card while we share fun coloring techniques and let you try tools that we love to use including a die cut machine with [...]
More from Our Create Blog

This pretty scarf was made with the Canyon Colors by [...]

Check out this delightful and hassle-free baby blanket pattern from [...]

Jeanean is the Paper Crafts Buyer at Craft Warehouse, Video [...]

Faux plants in a shadow box frame can bring a [...]


All you need are some scraps of paper to make [...]

This cheery, charming, and pretty Valentine's Envelope Garland is just [...]

Have you heard of knitting or crocheting a Temperature Blanket? [...]

Temperature Blankets have been a fun trend. When making a [...]


A fun, easy project to do with family & friends [...]