Light Up Your Fall Décor with a DIY Shadow Box
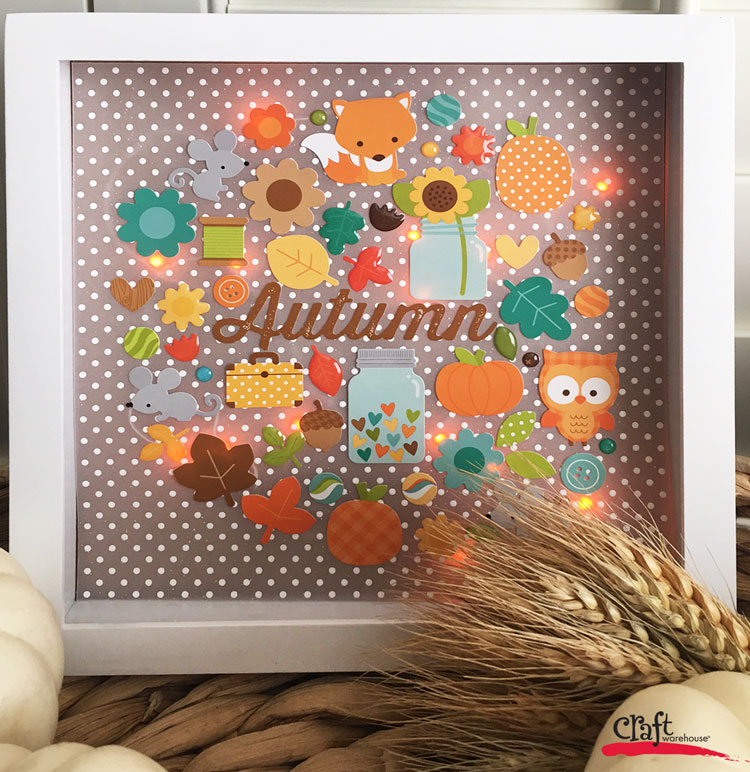
Scrapbook papers, stickers and embellishments are too cute to keep hidden in books. Show off your favorites and decorate your space for Fall (or any season) by creating this sweet 8×8 lighted shadow box.
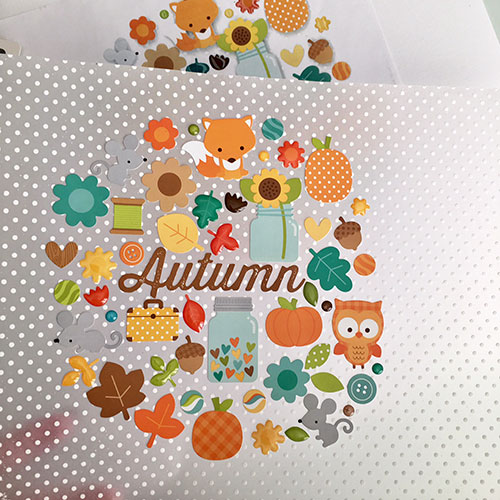
We created a template that you can use to lay it all out if you want this arrangement exactly. Just print out the Autumn Doodlebug Shadowbox Template and you can lay the vellum paper over it and place your stickers and embellishments on top of it. You will want to use a Vellum paper not only for this reason, but also so that the lights will shine through.
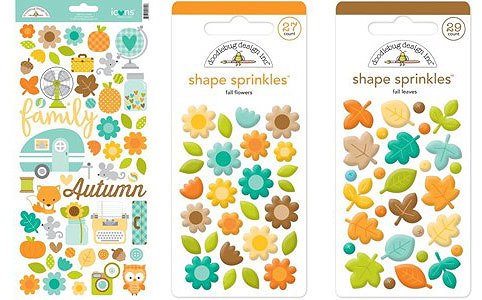
Lots of Doodlebug products available at Craft Warehouse
Supplies:
- 8×8 shadow box
- 15 Count Firefly Lights
- Doodlebug Vellum White Dot 12×12 paper
- Doodlebug Flea Market Sticker sheet
- Doodlebug Flea Market Shape Sprinkles
- Fall Flowers Stickers Doodlebug Flea Market Shape Sprinkles
- Fall Leaves Stickers PDF Template Print out for placing stickers
- Foam Dots
- Clear Tape.
Directions:
1.Place template under the vellum so image shows through
2. Place the stickers on as shown on template.
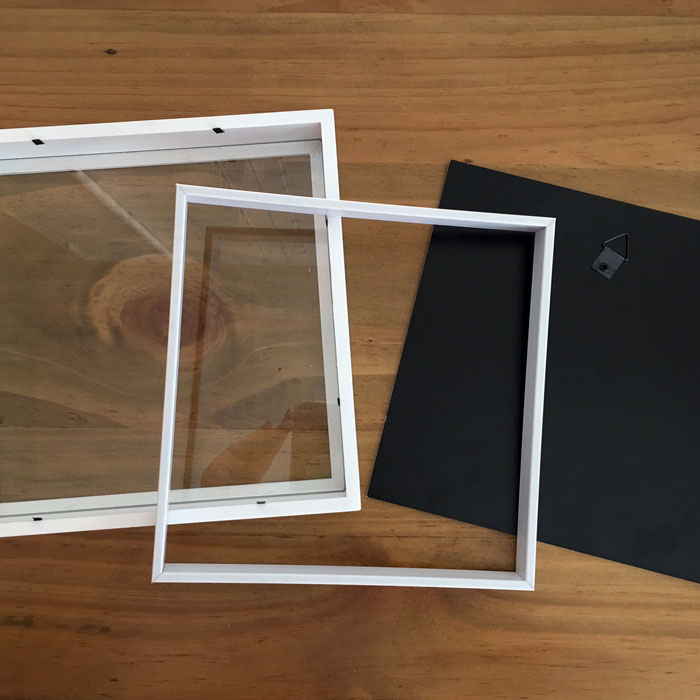
3.Open up the shadowbox frame, wash the glass and pull out the square plastic frame that fits inside the frame.
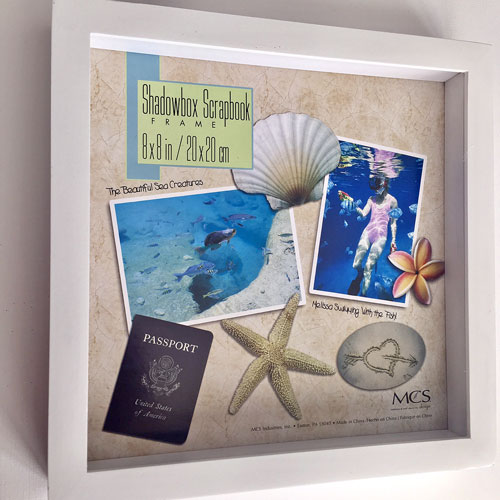
4.Cut paper to fit the size. It will need to be about 7.75″ x 7.75″. You want it to fit inside the white insert frame so there’s room for the lights to go behind.
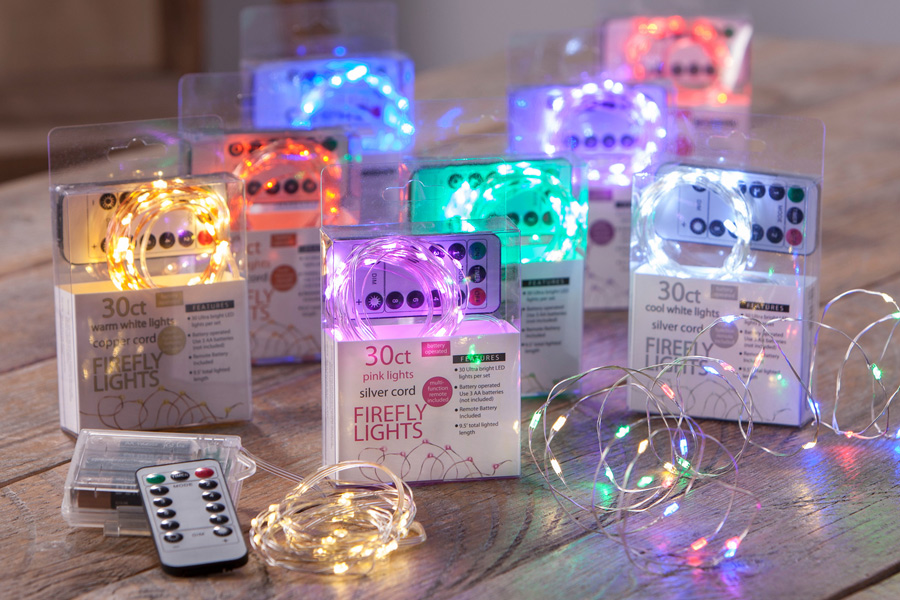
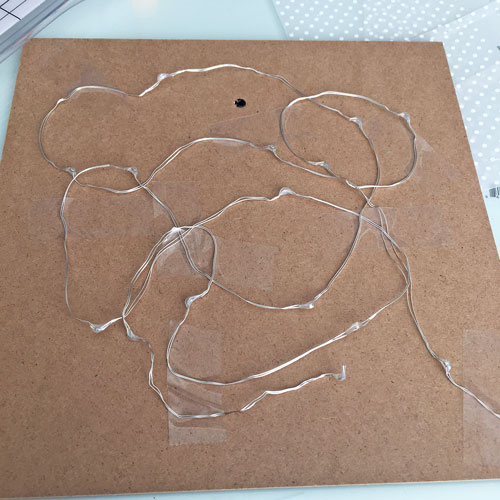
5. Place lights on the inside of the back of the shadow box backing and tape down with clear tape. (We kept our lights in the middle circle space so when it lights up it glows through the circle of stickers.
6. Place large pop-dots on the back of the vellum where a sticker is located so it won’t show through the vellum.
7. Adhere vellum to the back of the frame insert (the pop dots have adhesive on each side, so they act as your glue here).
8. Put it all together and close up the frame with the lights control coming through the back side so you can turn your lights on and off.

