
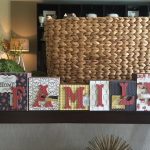
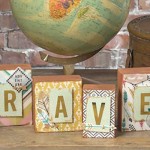
 The 6 piece wood block set that we carry at Craft Warehouse is one of those must-have, always-used craft items for home decor/seasonal projects. Once you get the steps down, it’s easy to whip one up for any occasion – and we do mean any. If you can spell it and it’s 6 letters or less – you can soon display the word of your choice (or buy two sets for longer words).
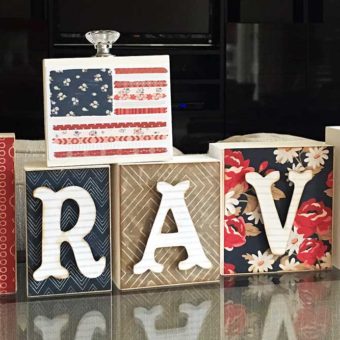
One really cool thing about this set is that you can create another word on the back of the blocks and flip them over when you want to showcase a different design.

Click to see larger
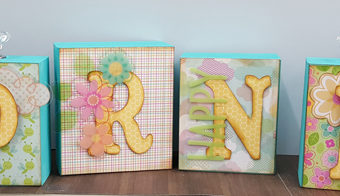
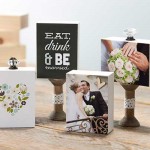
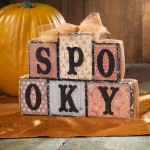
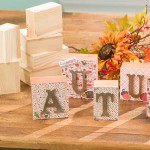
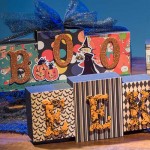
For example, this Home block set, that was made up by Sarah of our Craft Warehouse Design Team, is a basic display that can be used any time of year. But, on the other side, you can create this Spring sign or make one for Fall. You can showcase the word Joy or Faith or Love or some other favorite word. If your word of choice is less than 6 letters you can use the extra blocks for pictures or favorite papers. You can also divide the block set for two words like was done with this Halloween project.
Here is all the info you need to keep busy all year long.
Supplies:
- 1 – 6 pc unfinished block set
- 1 – Tim Holtz Distress Ink Vintage Photo and Applicator
- 1 – Assorted Crystal Knobs
- 1 – E6000 Glue
- 1 – Pioneer Embellishment Glue Stick
- 2 – 12×12 scrapbook paper of your choice (you only need one paper for blocks and one paper for letters unless you want more colors)
- 2 – Darice 3” Chipboard Alphabet (Tip: This package contains one of each letter, so if your word has two of the same letters in it, like Easter, make sure you get two packs).
- Acrylic paint or stain of your choice
Directions:
1. Cut your scrapbook paper to fit the front of 4 blocks of your choice. The other 2 blocks for this project will be for photos. (Tip: Easiest way is to just place the block down on the back of the paper and trace it).
2. Paint all blocks with an acrylic paint or stain (in this project we used a light coat of white acrylic paint, so you can still see the wood grain)
3. Glue paper to each block with embellishment glue stick. (Tip: Use the glue stick on the paper and the wood both. This will make it extra strong).
4. Cut the photos to fit on the front of the blocks, in this project we used one 4”x5” block and one 4.5”x4” block
5. Glue photos to the front of each block using Pioneer Embellishment Glue Stick (glue both back of photo and wood).
6. Trace each letter on the back side of the scrapbook paper of your choice and cut out each letter.
7. Glue scrapbook paper letter to chipboard letter using embellishment glue stick.
8. Use Distress Ink around edges of the chipboard letter. (Tip: This is optional, but our Design Team has found that this step makes the paper and the letters blend into each other better, eliminating the white border of the paper’s edges. It also helps give the letters a little more dimension, helping to pop out a bit more from the block. Be aware that any ink pad won’t do this. You need something that will not smear and will dry quick).
9. Glue each letter to the front of the block using the glue stick.
10. Add crystal knobs to the blocks of your choice gluing it down with E6000 Glue.
11. Display proudly!

Save and Share
MAKE-N-TAKES ARE BACK
2-4PM Every Saturday
Saturdays from 2-4PM Craft Warehouse hosts a special, in-store Make-N-Take event at ALL locations. Come Check it out!
View Events by Location
Meridian, ID | Beaverton, OR | Gresham, OR | Salem, OR | Hazel Dell, WA | Kennewick, WA | Vancouver, WA
Upcoming Events

April 17 - April 29
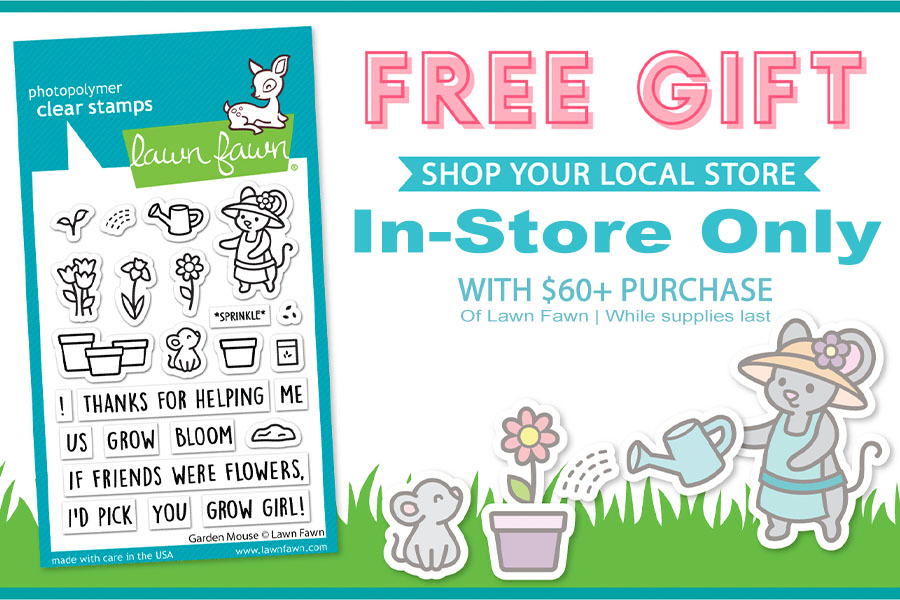
Attention, Lawn Fawn fans! Take a creative journey and visit one of our inspiring locations for an exclusive promo event happening from April 17th to April 29th! Purchase any Lawn Fawn products totaling $60 or more In-Store, and receive a FREE gift!* This special gift, [...]
May 25 @ 2:00 pm - 4:00 pm
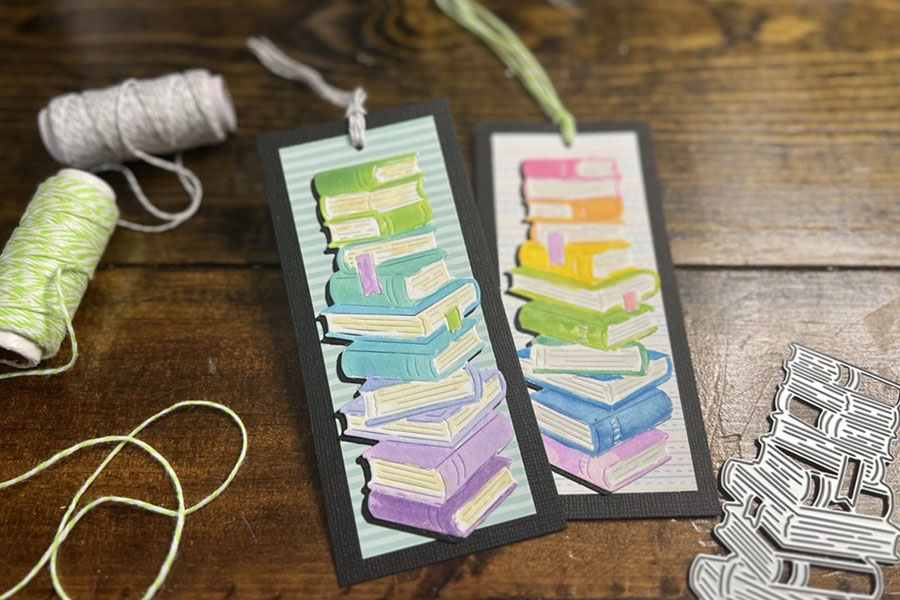
Join us at all store locations! Fun and easy watercolor technique to quickly color die cut of stacked books. During this event we will show you a simple way to create your own faux watercolors with ink pads. Add some cute paper and turn it [...]
More from Our Create Blog

This pretty scarf was made with the Canyon Colors by [...]

Check out this delightful and hassle-free baby blanket pattern from [...]

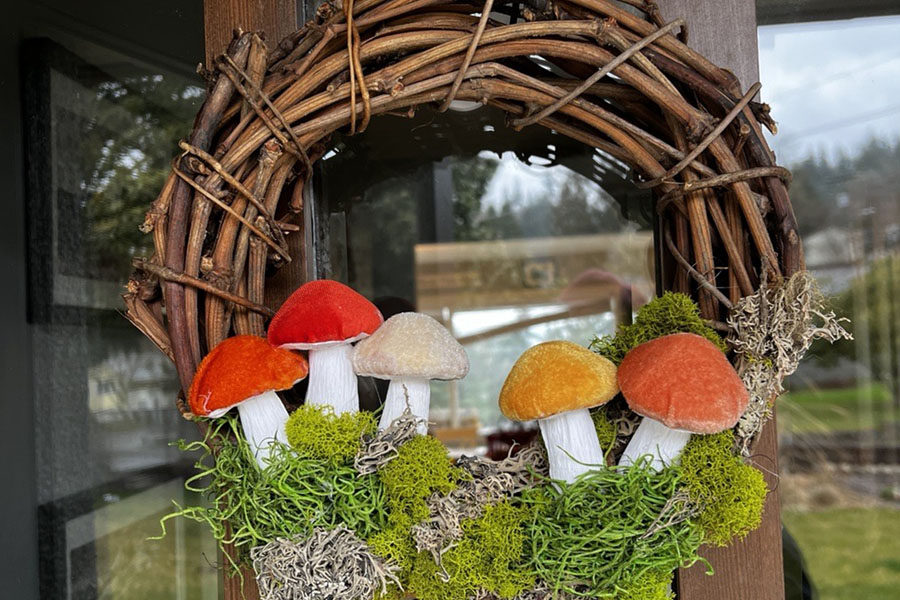
Faux plants in a shadow box frame can bring a [...]


All you need are some scraps of paper to make [...]

This cheery, charming, and pretty Valentine's Envelope Garland is just [...]

Have you heard of knitting or crocheting a Temperature Blanket? [...]

Temperature Blankets have been a fun trend. When making a [...]


A fun, easy project to do with family & friends [...]

Are you Ready for the next concert, concert movie, or [...]