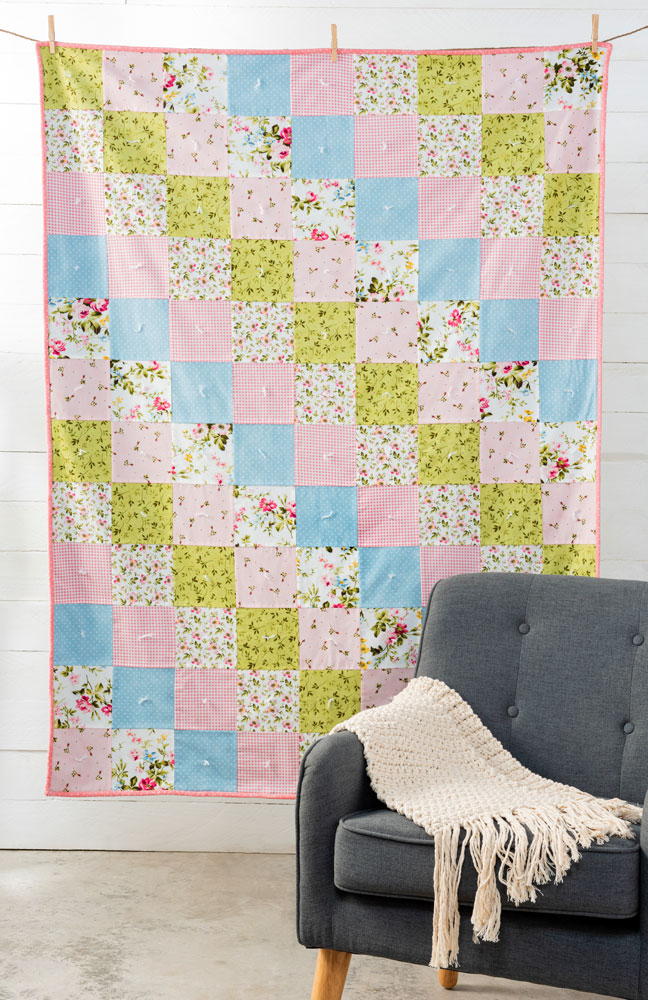
 We have a favorite basic quilt pattern here for you today. We love this pattern as it is good for a beginner quilter and fast for an experienced one. Sometimes, you just can’t beat the classics.
Click the print icon to get a project sheet with alternate pattern ideas.
Some of our stores may have kits available for you with the top fabric and binding. You can see more examples of quilts and lots of gorgeous quilting fabrics at the Craft Warehouse stores.
The finished size is approximately 45″ x 60″.
Supplies Needed:
• Quilt Top: Fabric #1-6 (½ yd each
• Binding: 1/2 yd
• Batting
• Backing
• Rotary Cutter, ruler & mat
• Sewing Machine
• Thread
• Iron
Option: Want to make quilt larger? Add borders! (need additional 2 ¼ yd fabric) Read complete instructions before cutting!
NOTE: Basic quilting knowledge required. This is a great first project for a beginner, but we recommend you have a good basic quilting reference book to help show you how to assemble your quilt. (Most quilting magazines have a basic how-to section which will help you with the finishing process).
Quilt Top Cutting Instructions
1. Fabric #1 – Cut three strips 5 1/2” x WOF (width of fabric). Cross cut into 5 1/2” squares (approx 21 squares total)
2. Repeat for Fabric #2 – #6. Suggestion: From your scraps, cut a small sample piece from each of the 6 fabrics. Tape these to piece of paper and label Fabric #1 thru #6. This will help you when you lay out your blocks
3. Binding – Cut five stripes 2 ½” x WOF. Set aside
4. Piecing instructions: For best results, use consistent ¼” seam allowance.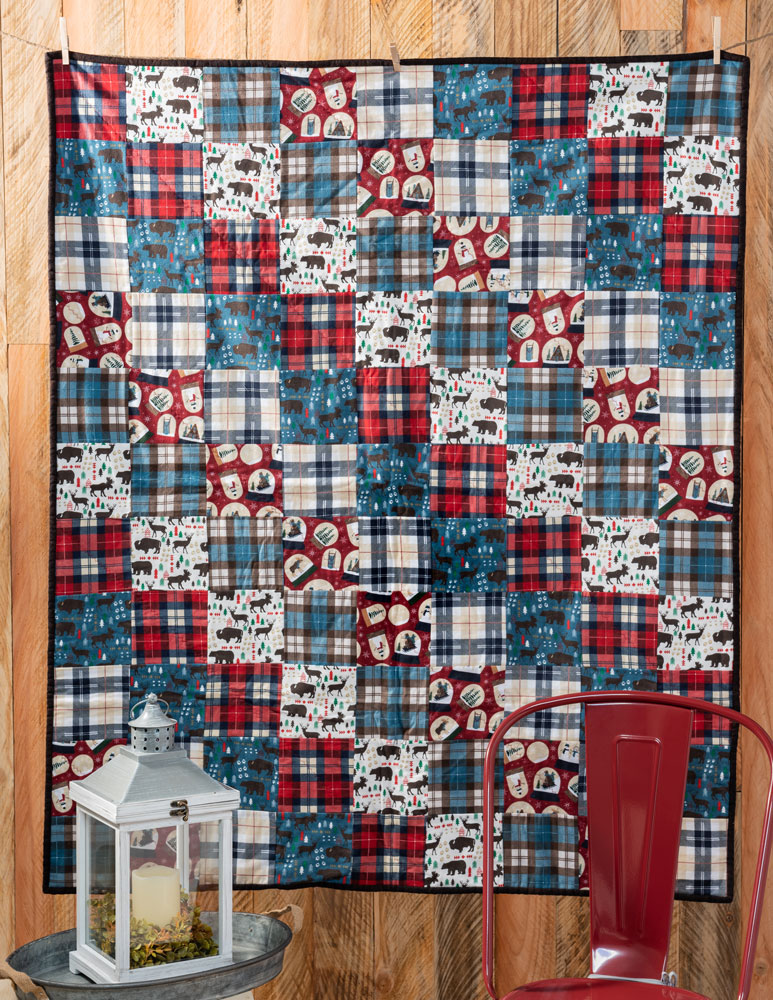
Assemble Quilt Top
1. Arrange blocks as desired (9 per row, 12 rows). Design can be totally random or it can be more structured. (Don’t know where to start? Try laying out blocks using one of the arrangements we have provided for you on the reverse side– one of these may strike your fancy!)
2. When you are satisfied with your arrangement sew the first row. Press seams in one direction. Label this strip Row 1 – Post-it notes work great!! Hint: To avoid mix-ups while sewing, take a digital picture of your lay-out.
3. Continue with Row 2 – press in the opposite direction of Row 1. Label.
4. Repeat Step 2 & 3 for the remaining 10 rows.
5. Quilt (or tie) and bind your quilt using your favorite method.
Save and Share
MAKE-N-TAKES ARE BACK
2-4PM Every Saturday
Saturdays from 2-4PM Craft Warehouse hosts a special, in-store Make-N-Take event at ALL locations. Come Check it out!
View Events by Location
Meridian, ID | Beaverton, OR | Gresham, OR | Salem, OR | Hazel Dell, WA | Kennewick, WA | Vancouver, WA
Upcoming Events

April 17 - April 29
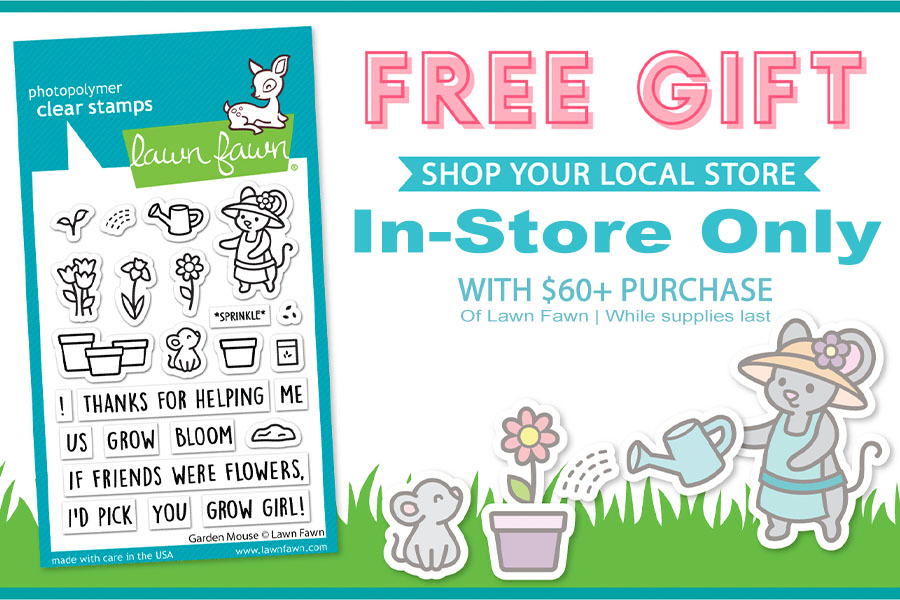
Attention, Lawn Fawn fans! Take a creative journey and visit one of our inspiring locations for an exclusive promo event happening from April 17th to April 29th! Purchase any Lawn Fawn products totaling $60 or more In-Store, and receive a FREE gift!* This special gift, [...]
May 25 @ 2:00 pm - 4:00 pm
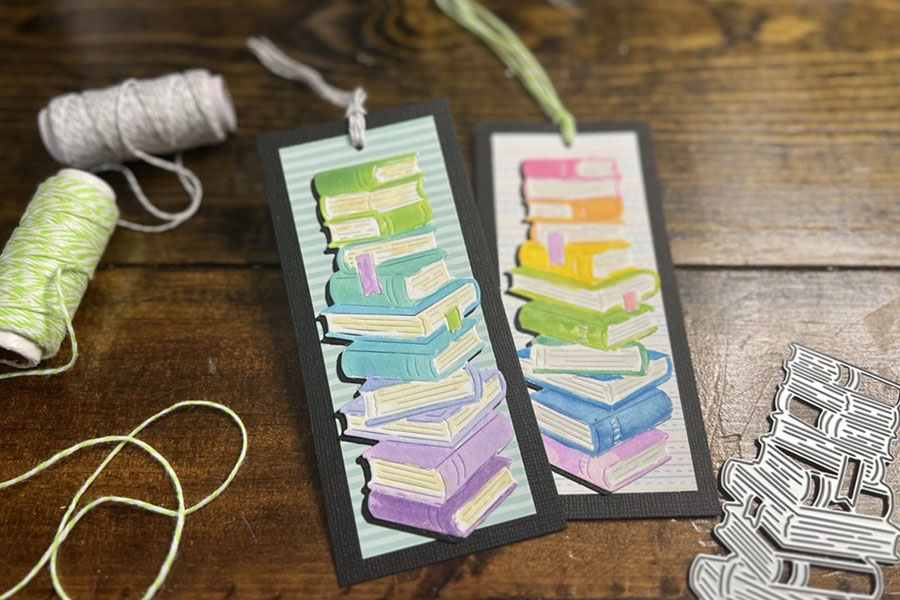
Join us at all store locations! Fun and easy watercolor technique to quickly color die cut of stacked books. During this event we will show you a simple way to create your own faux watercolors with ink pads. Add some cute paper and turn it [...]
More from Our Create Blog

This pretty scarf was made with the Canyon Colors by [...]

Check out this delightful and hassle-free baby blanket pattern from [...]

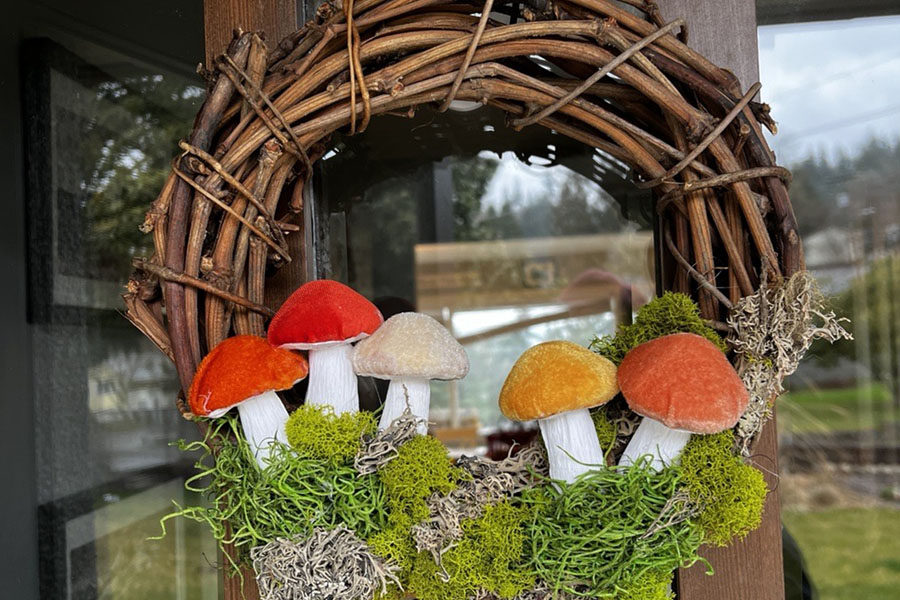
Faux plants in a shadow box frame can bring a [...]


All you need are some scraps of paper to make [...]

This cheery, charming, and pretty Valentine's Envelope Garland is just [...]

Have you heard of knitting or crocheting a Temperature Blanket? [...]

Temperature Blankets have been a fun trend. When making a [...]


A fun, easy project to do with family & friends [...]

Are you Ready for the next concert, concert movie, or [...]