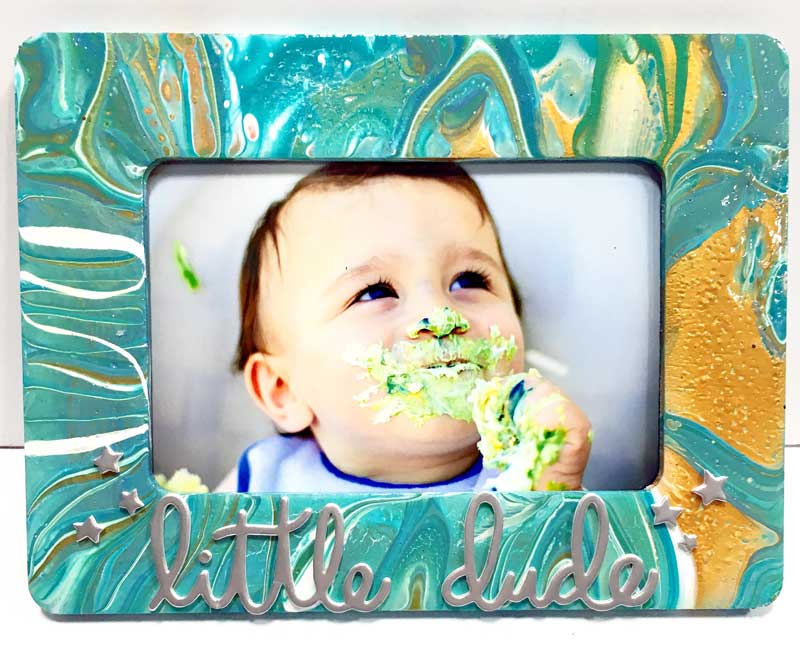
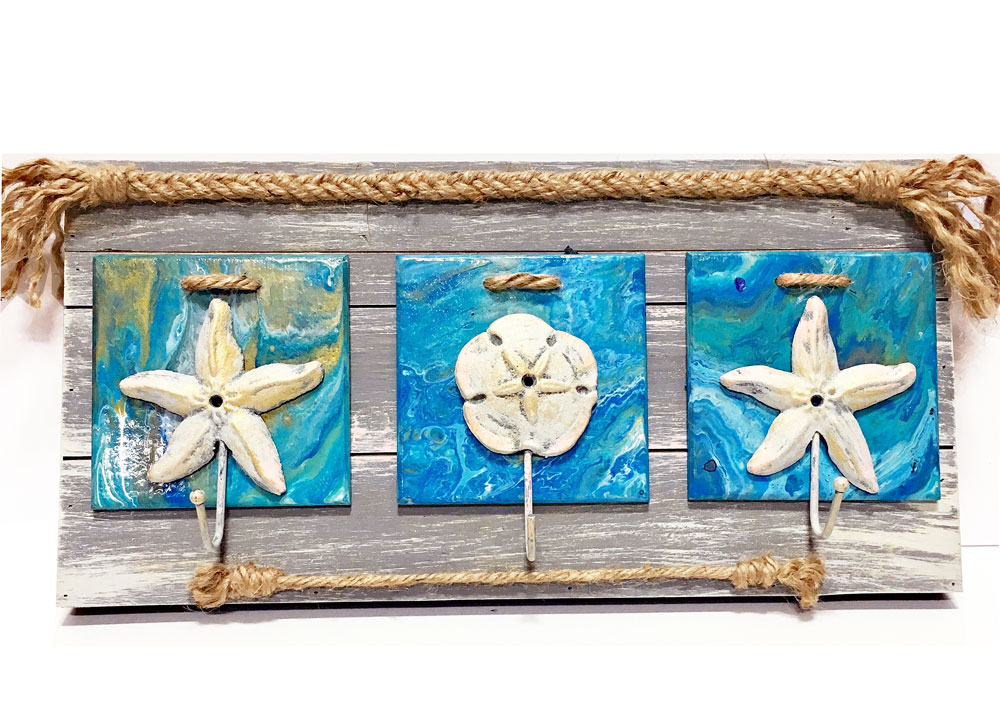
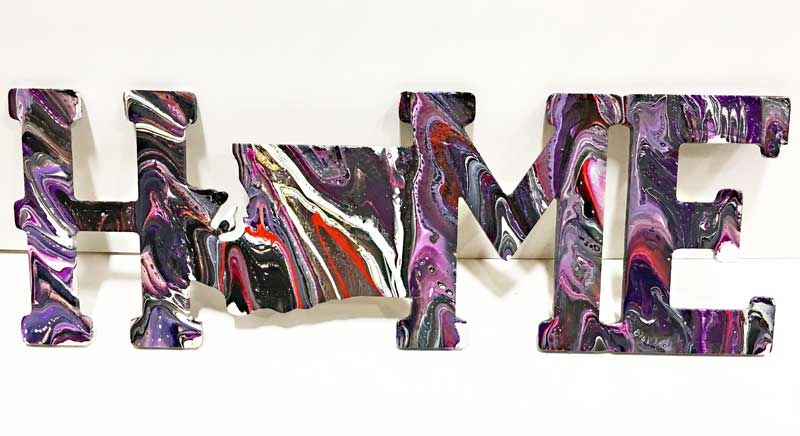
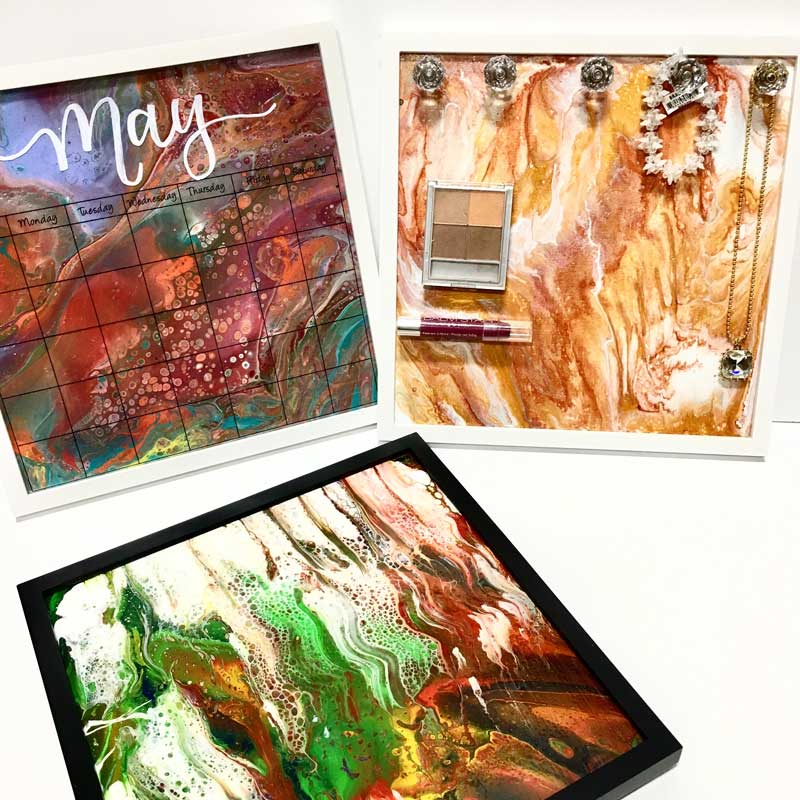
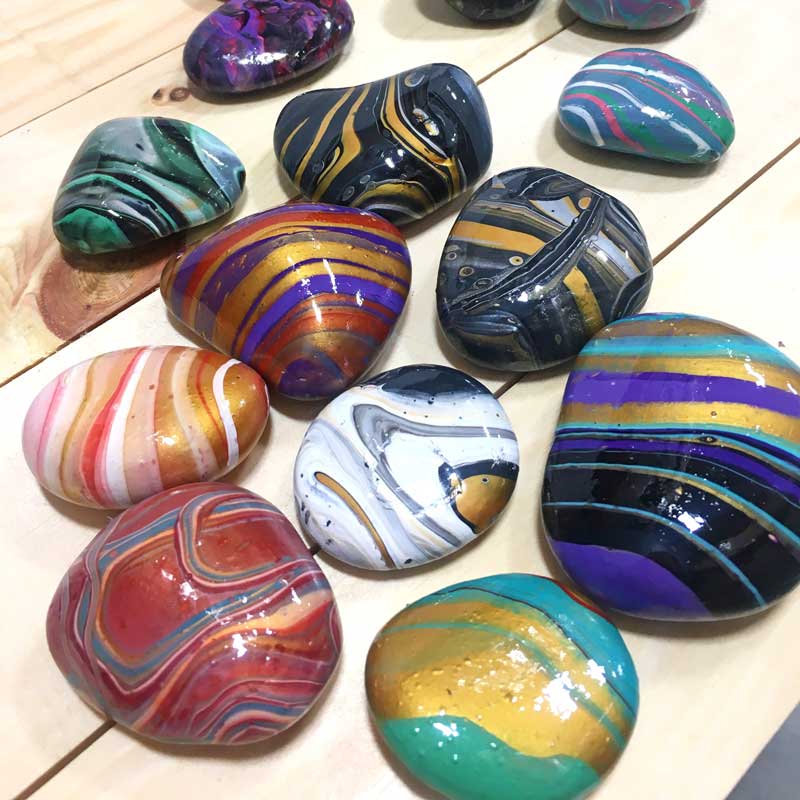
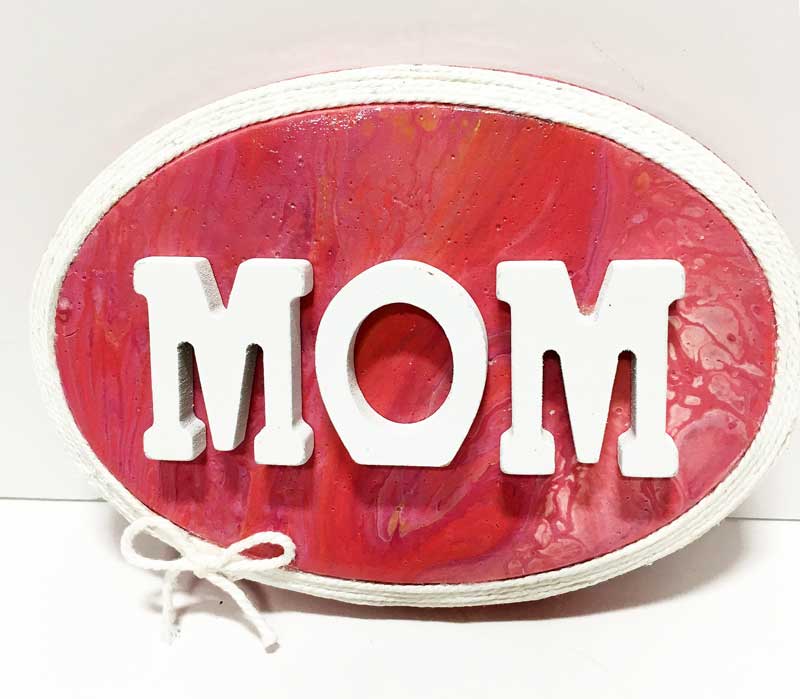
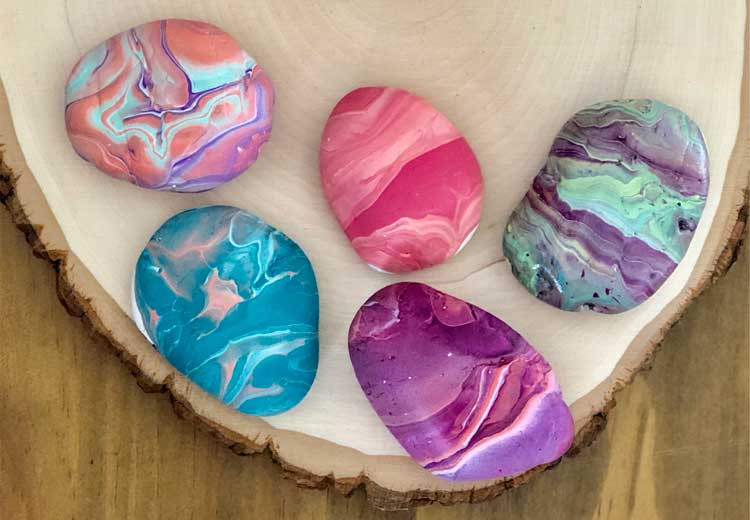
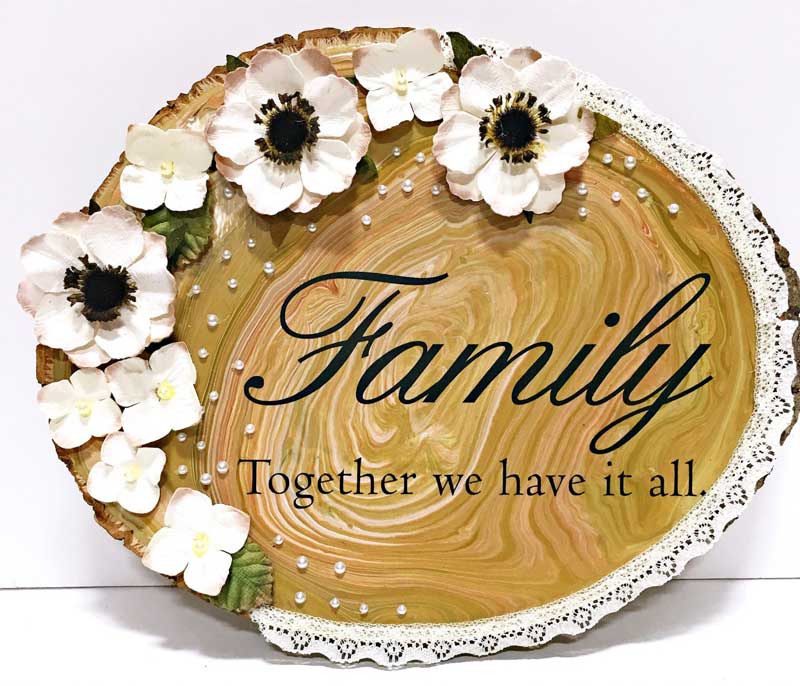
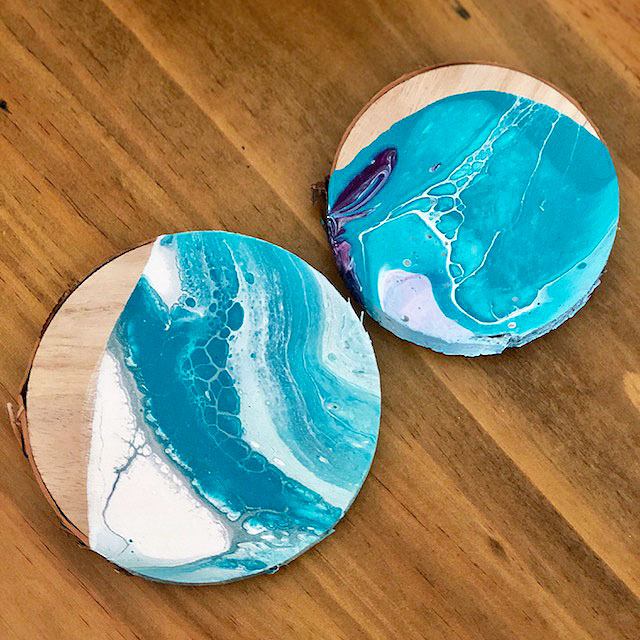
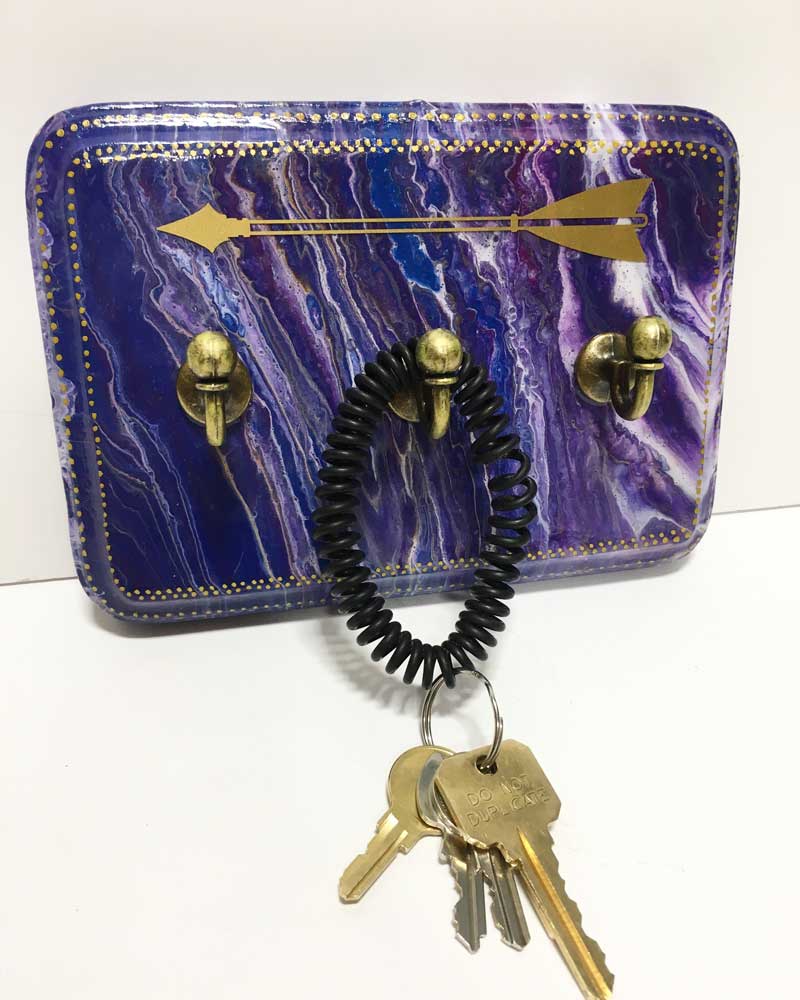
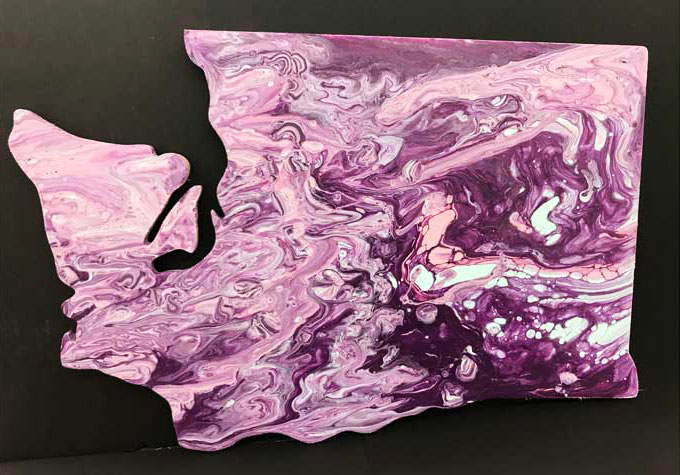
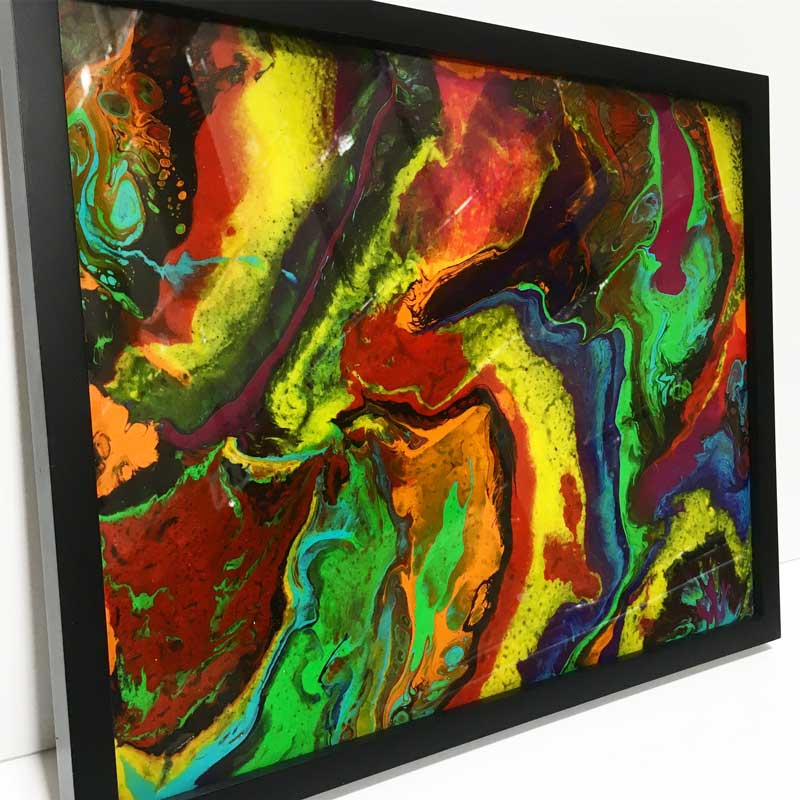
Paint Pouring is super fun and addicting. Creating beautiful abstract art is easy and almost fool-proof with the paint pour method. You can control your pour by choosing what you add to it and by using heat. Our Design team member Ashley at the Hazel Dell store did a lot of experimenting with paint pouring recently and found so many fun surfaces to paint on that aren’t all for hanging on the wall.
See our first post about How to Create Pour Paintings >
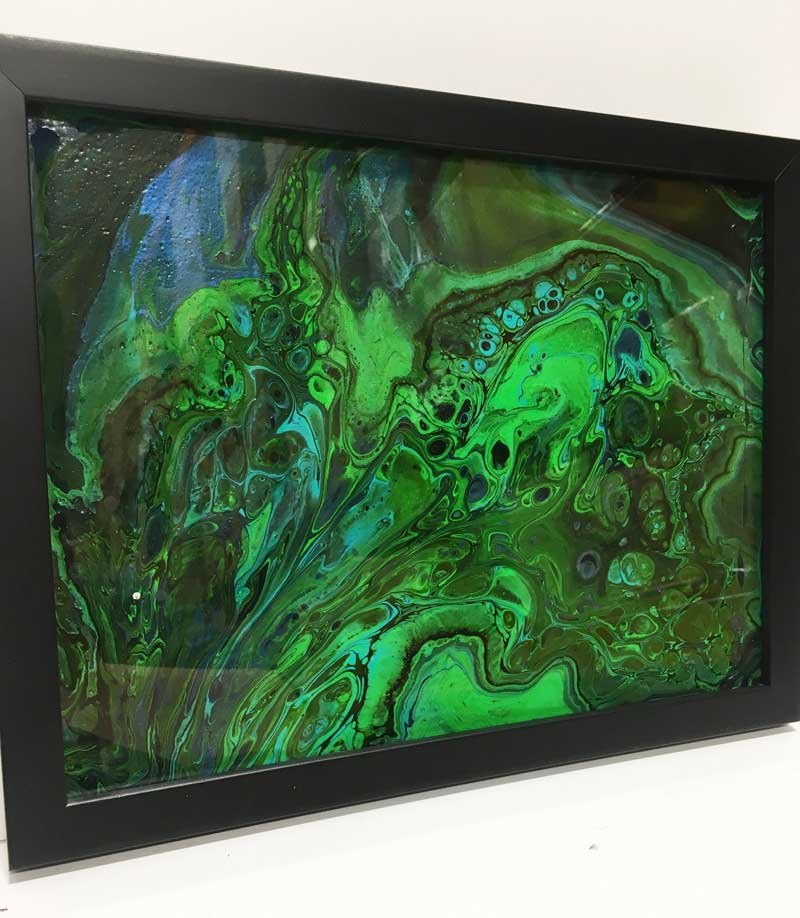
Learn more about the Paint Pouring Trend >
Some expert tips from Ashley:
• You can add too much silicone. If you like the big cells and you want a lot of them, be wary of adding too much silicone. When there’s too much it doesn’t fully incorporate and may just pool on top of your pour which causes your paint to slip right off.
• Get some Flow Improver. This really makes a difference in how your paint flows and makes a good pour much easier.
• Recipe: The mixing ration you use determines a lot of how your end result is. For most of these projects, Ashley used 3 parts medium to 1 part paint with about 1/2 part of the Flow Improver.
• When mixing your paints. Start with each color paint you want in a separate cup and then add the medium and flow improver to each cup. Then once you have done that then pile them on in the pour cup
• Remember that the color you place on the bottom will be what you see on the top and what is on the top will be on the bottom, so organize the colors you want with this in mind.
• A technique Ashley uses for smaller canvases is to drop a large part of the pour and then use the rest of the pour in the cup to kind of drizzle it over the top. This was you can control more where the colors and strand end up. Using a cup that can bend (like a paper cup) can help with this technique.
• Rock Recipe: For the rock paint pouring Ashley used 2 parts Elmers Glue, 1 part paint, and 1/2 part water. She used a dixie cup size. Not a lot is needed.
• When mixing: Put paint in first, then medium. Mix slowly – too fast can create bubbles. Scrape sides and then add the flow improver. Add a little at a time. The consistency you want should be kind of like hot honey.
• To create a pour that is different hues of the same color, start with white base mixed with medium and flow improver. Make one cup with the darkest color you want. Then, using separate cups for each color, add the some of the darker color with white to get the next grade of hue. Add more white to each cup to get progressively lighter colors.

Save and Share
MAKE-N-TAKES ARE BACK
2-4PM Every Saturday
Saturdays from 2-4PM Craft Warehouse hosts a special, in-store Make-N-Take event at ALL locations. Come Check it out!
View Events by Location
Meridian, ID | Beaverton, OR | Gresham, OR | Salem, OR | Hazel Dell, WA | Kennewick, WA | Vancouver, WA
Upcoming Events

May 25 @ 2:00 pm - 4:00 pm
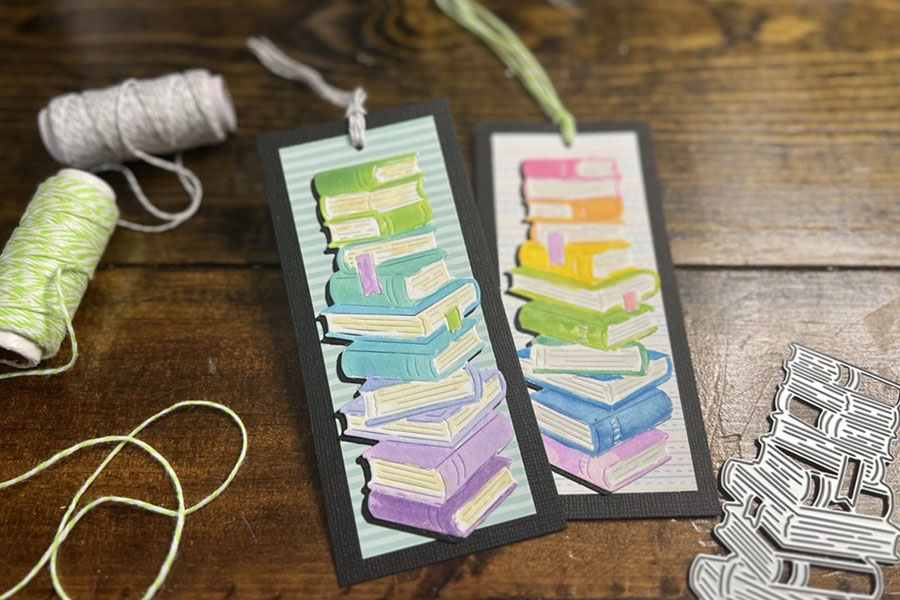
Join us at all store locations! Fun and easy watercolor technique to quickly color die cut of stacked books. During this event we will show you a simple way to create your own faux watercolors with ink pads. Add some cute paper and turn it [...]
May 18 @ 2:00 pm - 4:00 pm
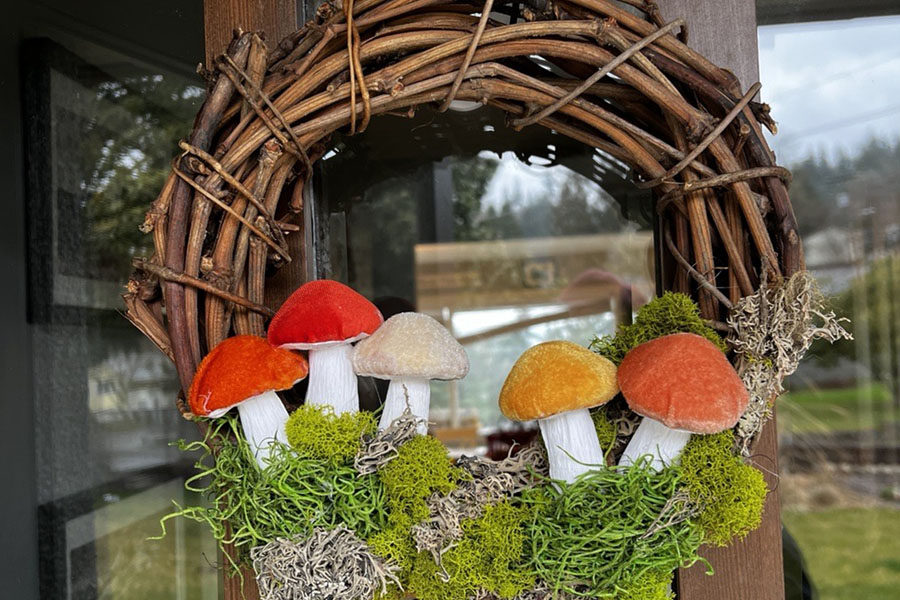
Join us at all store locations! You'll enjoy creating this cute grapevine wreath in a classic cottagecore style! We will be helping you bring the beauty of nature indoors with mossy goodness while adding our favorite little mushrooms. *Please note events are Pacific Daylight Time. [...]
More from Our Create Blog

This pretty scarf was made with the Canyon Colors by [...]

Check out this delightful and hassle-free baby blanket pattern from [...]

Faux plants in a shadow box frame can bring a [...]


All you need are some scraps of paper to make [...]

This cheery, charming, and pretty Valentine's Envelope Garland is just [...]

Have you heard of knitting or crocheting a Temperature Blanket? [...]

Temperature Blankets have been a fun trend. When making a [...]


A fun, easy project to do with family & friends [...]

Are you Ready for the next concert, concert movie, or [...]