This Organizer Board designed by Katrina from our Craft Warehouse Design Team is a fun reason to show off your favorite fabric in your sewing room. The board is not only pretty, it’s useful. The 16 x 20 organizer has a couple of pockets for stashing things and you could use straight pins to pin up a few swatches.
Change up the word across the top and make it for an office, a craft room or a kids room. So fun and pretty easy.
You can find the tutorial on how to make the pennant here and a post on the paper piecing spool of thread here. Now lets make the board and put it all together!
S UPPLIES:
- 16” X 20” canvas board
- 5/8 yard of background fabric
- 2 coordinating fat quarters for pockets
- Staple gun
- Optional: pennant, push pins, clothes pins
DIRECTIONS:
1. Cut the main fabric 20” x 25”. If your fabric is directional, pay attention to the direction before cutting.
2. Cut the small pocket fabric 16” x 20”. Fold in half and press, getting a nice sharp crease. If you made a paper pieced block for the pocket, now is the time to stitch it in place.
3. Turn the raw edges of the block under ¼” and applique it in place on the pocket. I measured about 1” from the top edge of the pocket and centered it.
4. Press the pocket again and set aside.
5. Cut the larger pocket fabric 18” x 20”. Fold in half and press, getting a nice sharp crease. Set aside. I matched the lower edges of the main fabric and both pockets and stitched them together along each side edge. You don’t have to do this; you may staple them on separately. If doing separately, begin with the main fabric, then the larger pocket, and finish with the small pocket. Try to avoid stapling on top of staples.
6. In either case, begin by stapling the bottom edge, matching the edge of the fabric with the inner edge of the frame. Beginning in the center and working your way out, staple the top next. Pull the fabric fairly tight before you add each staple so it will look nice and crisp.
7. Finish with each side, again starting in the center and working your way out. Mitering corners can be tricky, especially with the bulk on the lower corners. Some of mine looked nice and clean and some more messy. Since you don’t see the back once it is hung, I didn’t worry about it being too perfect.
8. Finish by stapling the pennant in place on the top. Trim any excess twine.
Don’t forget to make a few Pop-Up Bins and some Mason Jar Storage Jars to make your sewing room redo complete!
Save and Share
MAKE-N-TAKES ARE BACK
2-4PM Every Saturday
Saturdays from 2-4PM Craft Warehouse hosts a special, in-store Make-N-Take event at ALL locations. Come Check it out!
View Events by Location
Meridian, ID | Beaverton, OR | Gresham, OR | Salem, OR | Hazel Dell, WA | Kennewick, WA | Vancouver, WA
Upcoming Events

April 17 - April 29
Attention, Lawn Fawn fans! Take a creative journey and visit one of our inspiring locations for an exclusive promo event happening from April 17th to April 29th! Purchase any Lawn Fawn products totaling $60 or more In-Store, and receive a FREE gift!* This special gift, [...]
May 25 @ 2:00 pm - 4:00 pm
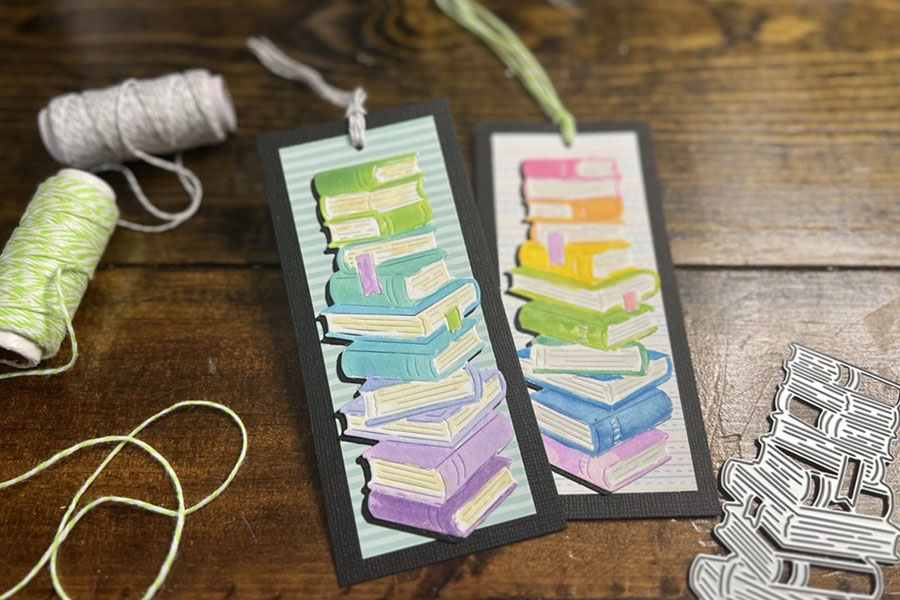
Join us at all store locations! Fun and easy watercolor technique to quickly color die cut of stacked books. During this event we will show you a simple way to create your own faux watercolors with ink pads. Add some cute paper and turn it [...]
More from Our Create Blog

This pretty scarf was made with the Canyon Colors by [...]

Check out this delightful and hassle-free baby blanket pattern from [...]

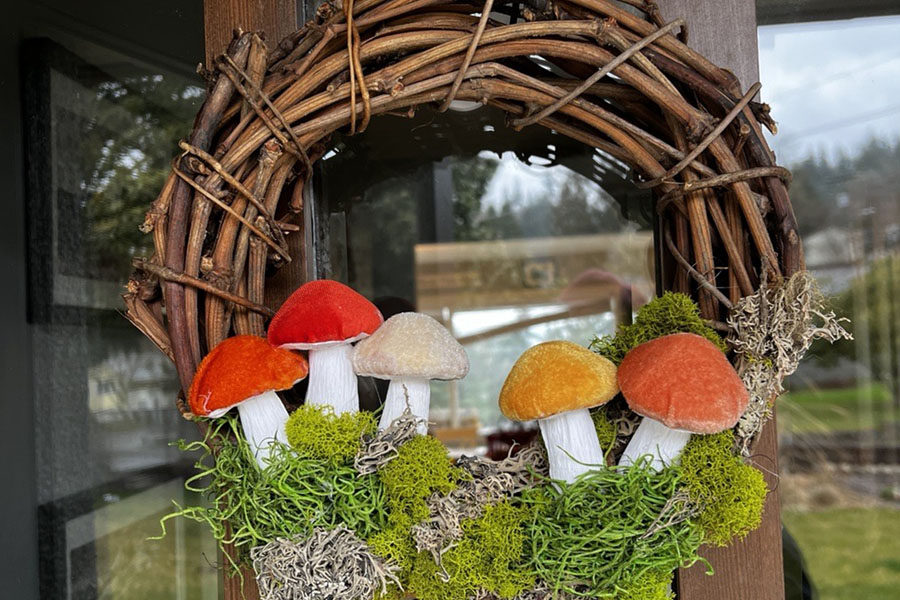
Faux plants in a shadow box frame can bring a [...]


All you need are some scraps of paper to make [...]

This cheery, charming, and pretty Valentine's Envelope Garland is just [...]

Have you heard of knitting or crocheting a Temperature Blanket? [...]

Temperature Blankets have been a fun trend. When making a [...]


A fun, easy project to do with family & friends [...]

Are you Ready for the next concert, concert movie, or [...]