My thanks to Craft Warehouse for welcoming me back for a second year on their Design Team! My name is Staci, and I can usually be found over at my blog, but today I’m here to talk about a fun pattern I recently got to take for a spin.
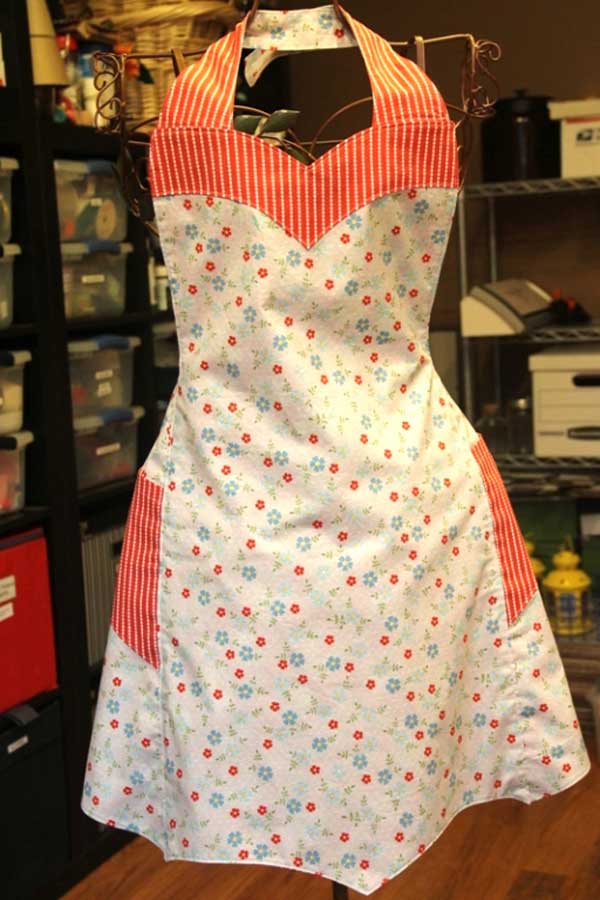
When I received the three prints from the Windham Fabrics Oh Clementine line by Allison Harris for Cluck Cluck Sew, it immediately brightened up my sewing room, even just stacked on my table. Also included in the box was the Chatterbox Apron Pattern from Mary Mulari Designs. It had me at “reversible” and “only 2 yards of fabric.” Before I cut into it, I happened to visit Craft Warehouse and saw the apron sewn up and hanging in the fabric section. I can tell you, the picture on the envelope doesn’t quite do it justice. It’s so much cuter in person.
The first thing I noticed when I opened the pattern is that all of the pieces are printed on one heavy sheet of paper. I had planned to trace the pieces, but after seeing how sturdy the paper was I had no concerns about just cutting them out. I also didn’t need to worry about losing the instructions in the process, because they’re printed directly onto one of the big pieces.
Another thing I loved about the pattern was a little prompt to write down when you made the apron and who it was for. I always intend to do this when I use a pattern, but never remember to.

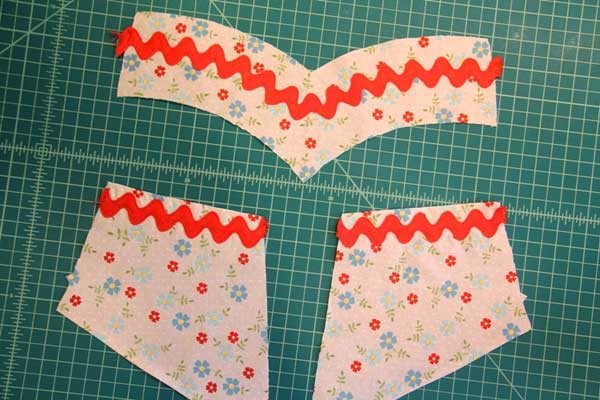
I noticed while cutting this out that the pattern is clearly hand-drawn, rather than rendered digitally. A designer after my own heart! I like a simple project, and this one fits right in with its two-yard fabric requirement and six pattern pieces.
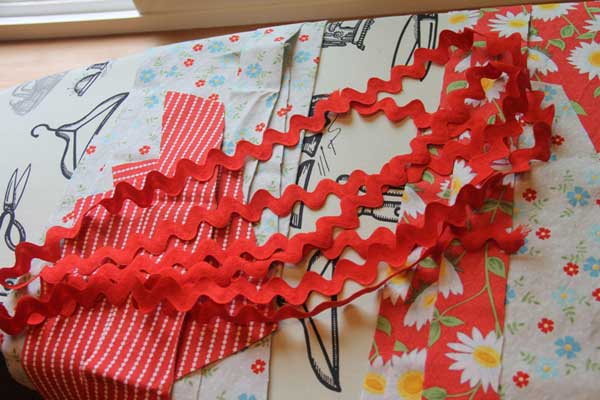
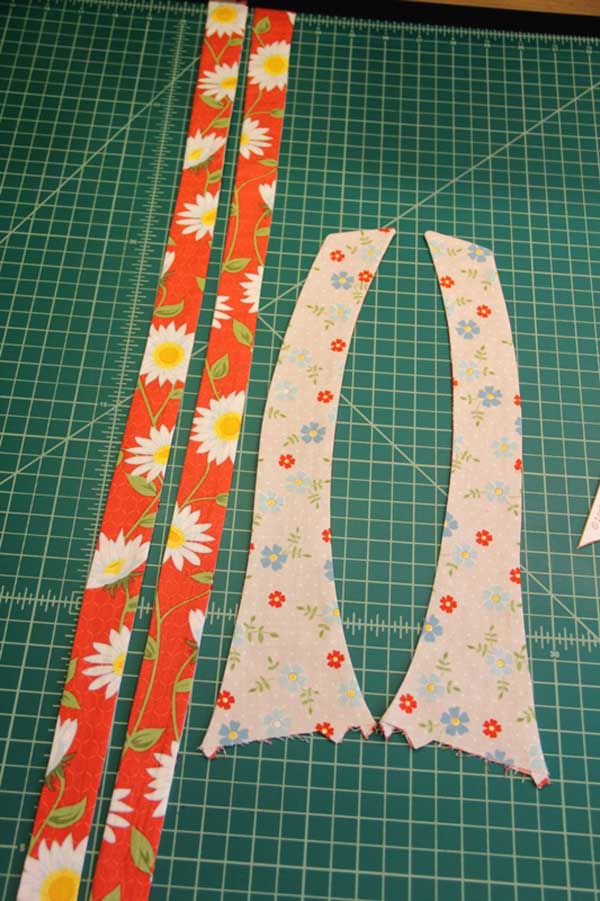
To make it even quicker and easier, the designer suggests cutting both sides of the reversible apron at the same time by stacking the two pieces of fabric. I would have done that, except I was using three fabrics, so both sides wouldn’t be exact opposites of each other. Even so, I had the whole thing cut out in no time. The only notion required is a piece of Velcro, but I happened to have some who-knows-how-old ric rac in an orangey-red that coordinated with the fabrics perfectly.
I stitched it onto the pockets and top of one side before assembling the apron. You could do the same with ribbon or bias tape.
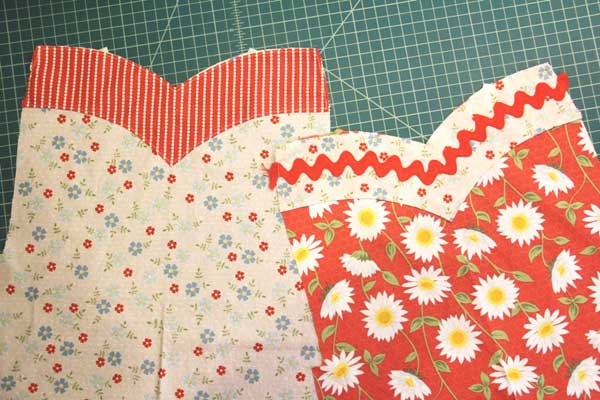
I didn’t notice until it was too late that the daisy print was directional. This is a pretty common problem for me. In fact, I have a particularly hilarious pair of pajama shorts. No worries here though. My daisies aren’t growing, they’re cascading.
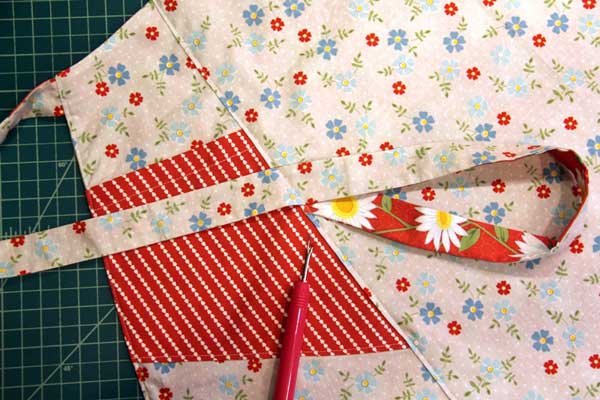
The instructions are very clear and the pieces all went together smoothly. This was especially important since the method of assembling this apron was new to me, but very clever.
One bit of advice I can give you, based on mistake number two, is know where all of your straps are when you’re top-stitching. I almost made it through without pulling out the seam ripper.
These three fabrics came together to made this unique pattern even more cheerful. I actually thought the side with the red trim was going to be my favorite.